How To Clone Your Voice
Here's a comprehensive, step-by-step guide to cloning your voice.
-
Step 1: Prepare Your Environment
- Find a quiet space with minimal background noise.
- Ensure your microphone is properly connected and functioning.
-
Step 2: Choose Your Device for Recording
-
iPhone/Android
- Open the Voice Memos (iPhone) or Voice Recorder (Android) app.
- Tap the record button to start.
- Speak clearly and naturally. For best results, talk about your favorite city or read the provided script below.
- Tap the stop button when you're done and save the recording.
- Use a built-in or external microphone.
- Open an audio recording program like Audacity (free) or the Voice Recorder app on Windows or QuickTime Player on Mac.
- Press the record button to start.
- Speak clearly and naturally. For best results, talk about your favorite city or read the provided script below.
- Press the stop button when you're done and save the recording as an audio file (e.g., MP3, WAV).
PC/MAC
Step 3: Use the Provided Script (Optional)
Step 4: Upload Your Audio File
- Log in to
- Select the assistant in which you want to use your cloned voice from your dashboard.
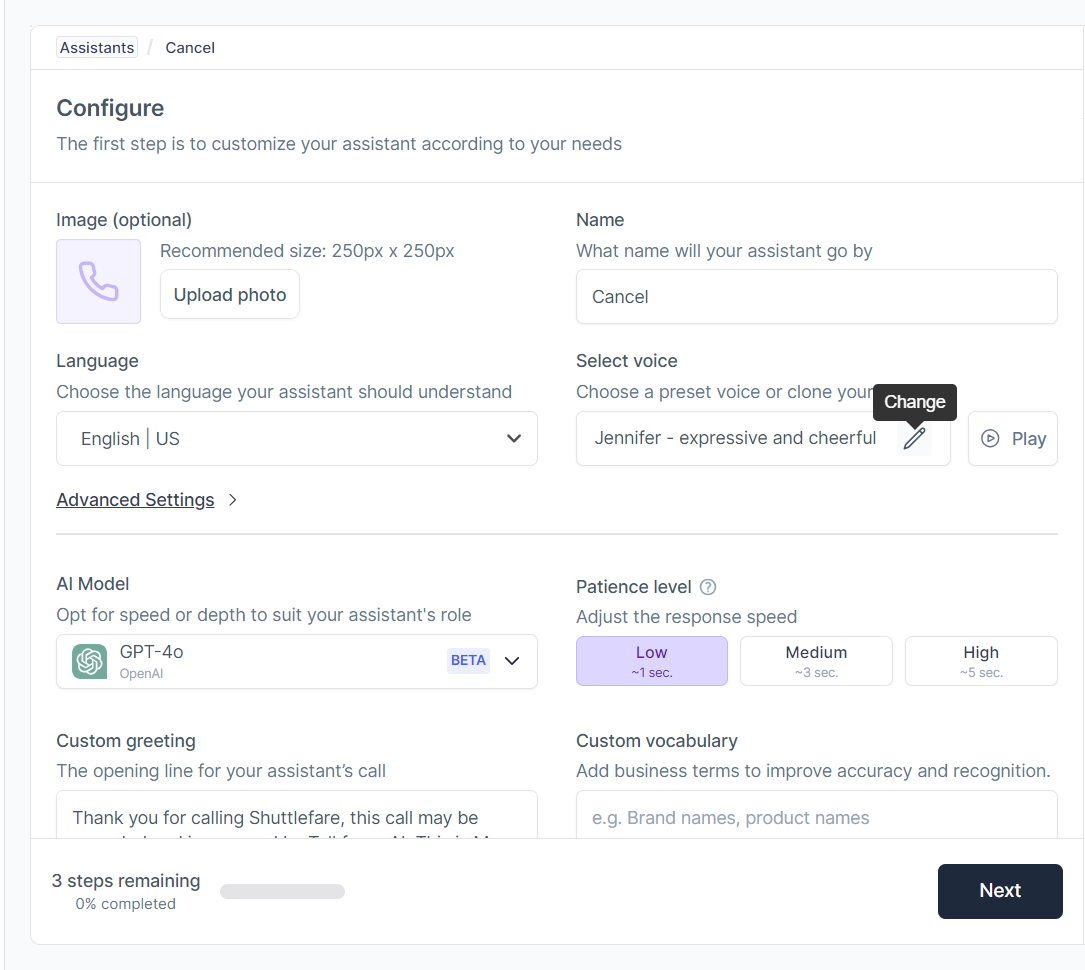
- Go to the "Configure" tab, then to "Select Voice" and click on the "Change" button.
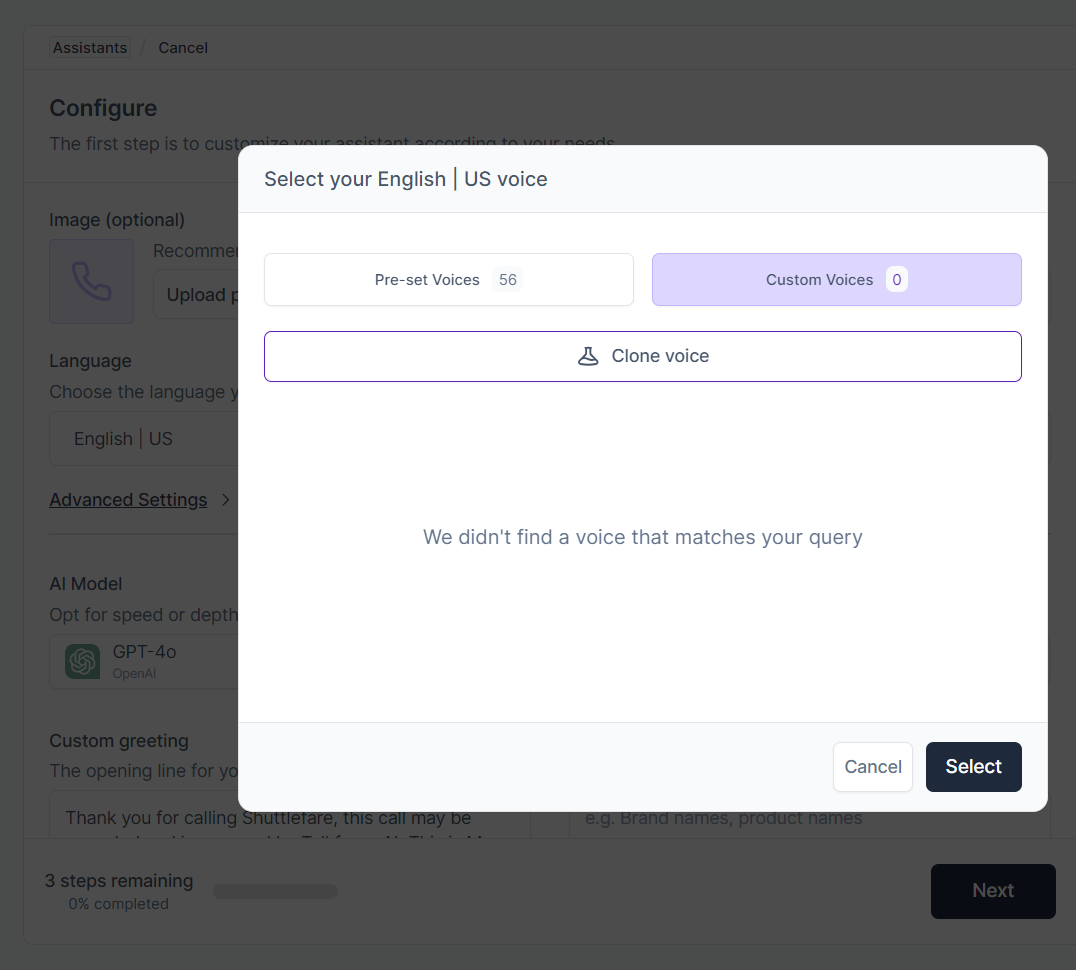
- Go to the "Custom Voices" tab and click on "Clone Voice."
Step 5. Cloning Your Voice
- Provides a streamlined, professional booking experience for your clients.
- Give the cloned voice a name and upload the recordings as instructed.
- Start the cloning process.
Step 6: Review and Use Your Cloned Voice
- Once your voice is cloned, you can access it from your profile.
- Use your cloned voice to create AI agents, automate responses, and more.
- If you encounter any issues, contact